
Davinci Resolve gets 1st major project , MERCS Moonsamy
28/08/18 19:32 Filed in: Post Production | Audio
MERCS Moonsamy, the prequel to MERCS, is being editing and mastered on Davinci Resolve 15. Did I mention that Blackmagic release awesome feature rich updates? Well this is no exception, v15 comes with a new page, Fusion! Yep, they have integrated Fusion into Davinci Resolve. So now, the entire workflow can be done inside Davinci Resolve. For now though, due to familiarity, I will do any visual effects in After Effects, but fairlight has also got some cool new features such as ADR, and built in effects. I have setup the project to mix to both stereo and 5.1 surround. My studio now has an additional amplifier to power the rear and centre speakers, so can now monitor in 5.1
What I really like about fairlight is the mixing / routing capability which allows me to set up each character on it's own track and submix all dialogue to a dialogue submix. The submixes can be mixed to a 5.1 out and / or a stereo mix. Truly flexible and exactly how I would expect it in an analogue world. This is how I've configured my system.
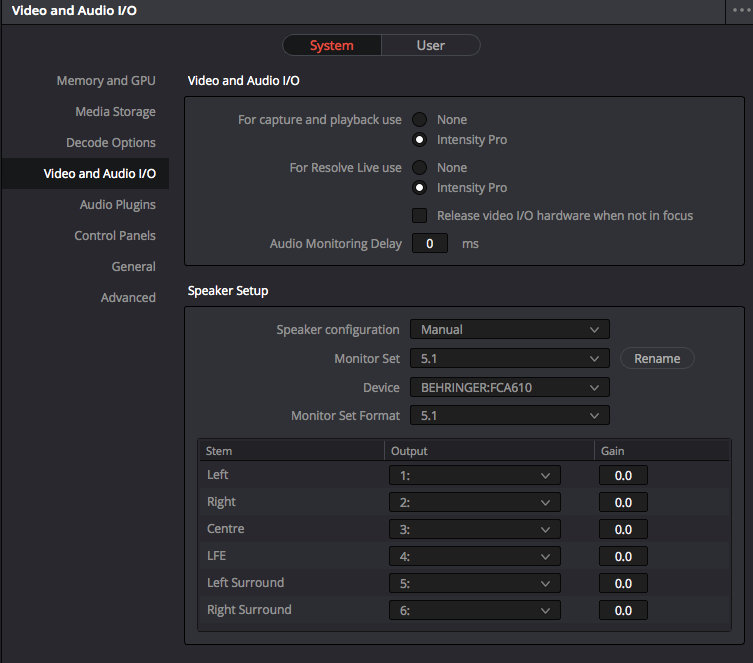
In Resolve preferences, System->Video and Audio I/O I have the following Speaker setup that configures the channels for 5.1
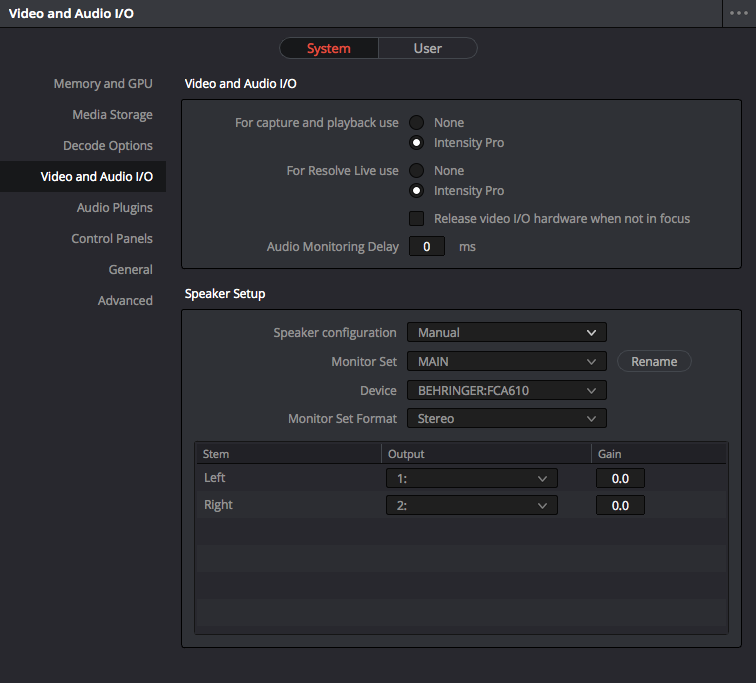
For the Main Stereo Output, I have the following:
In fairlight, the meters section will have selectable sets to choose from that match what you have configured above. You can send output to specific speaker sets.
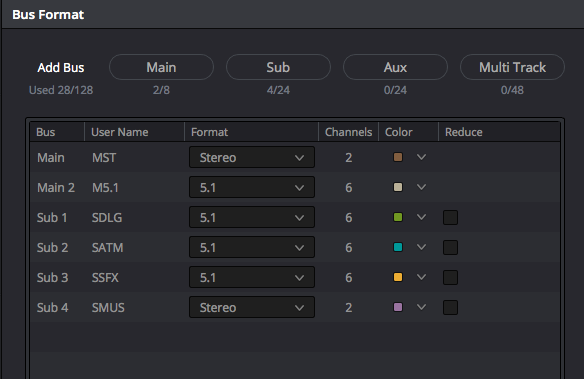
In my setup, in fairlight I have created a number of submixes:
Sub 1 - Dialogue
Sub 2 - Atmos
Sub 3 - SFX
Sub 4 - Music
I have also created two MAINS.
MST - Main Stereo Mix
M5.1 - 5.1 Surround Mix
I route each audio track to required submix bus and all the Submixes are sent to both MAIN mixes as below:
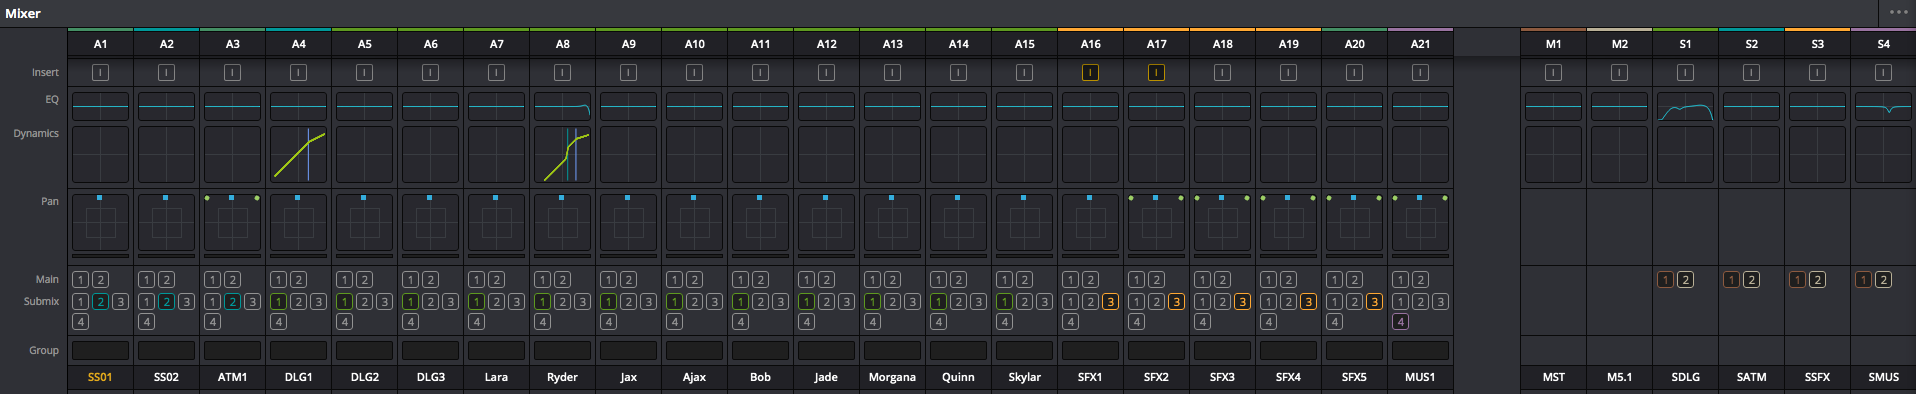
For monitoring purposes I assign the Main 2 to either the CR Main or CR 5.1 depending on what / how I want to monitor.
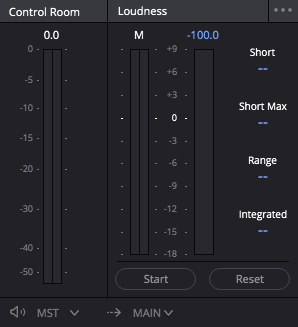
Stereo
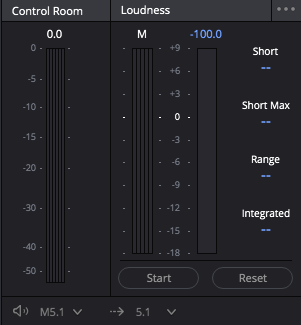
5.1
My external mixer has the sound interface outputs feeding the required speaker (L,R,C,LFE,RL,RR). All surround panning is done on an individual track basis. The reason I have two Mains is that I can easily output a 5.1 mix and a stereo mix from the deliver page.
What I find so powerful with keeping the workflow contained in one operating environment is that it is so easy to work with multichannel audio files, something that has been a bugbear of mine with other NLE's for a looonnnnggg time! Each clip in this project is associated with a separately recorded sound file which is a multichannel audio containing, boom (MID+SIDE), lav mics and safety tracks. The L/R mix was recorded on camera, as was the slate as standard. The first step of the edit was to replace the camera audio with the separately recorded multichannel files. The tools in Davinci Resolve made this much easier than I have experienced in other NLEs. Just click video clip in the media page to bring it up in the view, them navigate to the audio file and click on that (our audio files were all named to match the slate on set making this process so much quicker). You then get a visual representation of the waveform which you can line up with the clapper board. The process is, scrub the video until the clapper shuts, then scrub the audio until you get the clack, then click the link icon. That's all there is to it.
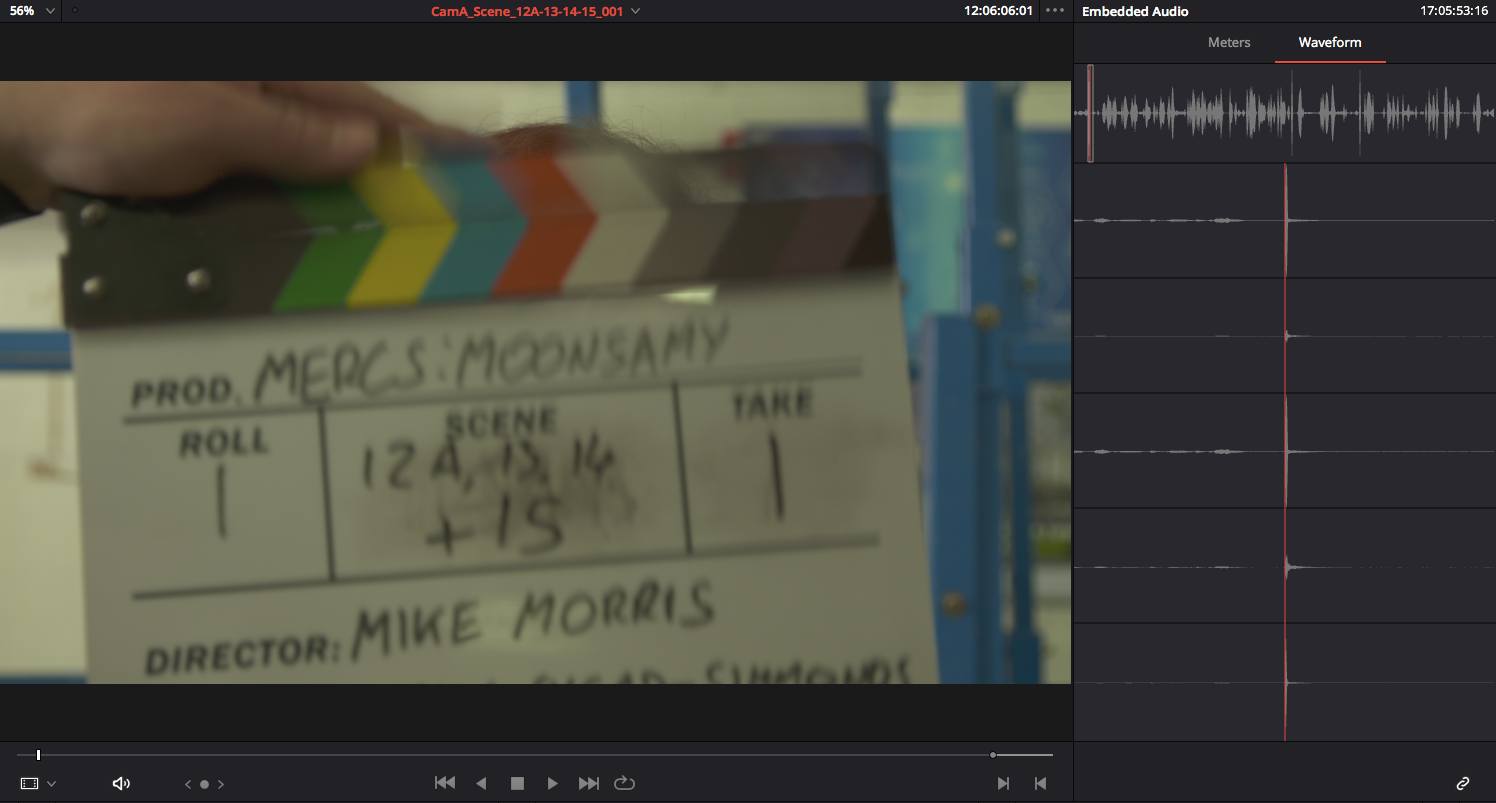
If that's not beautiful enough, once synced, select all the clips and change the clip attributes to change the number of audio channels to one mono and select the boom channel. This means that when you drag the clip onto the timeline, you just get one simple audio track to deal with. When you come to the sound design / mix, you can either change the channel assignment or duplicate the audio portion and select another channel. If you put this work in at the beginning, it will make things work so much easier.
blog comments powered by Disqus